
Yayyy! I'm part of Jess Brogan's Inspirational Deck Swap this year!
I've heard great things about this swap.
The rules are easy:
1. Create a deck of 52 cards in your own art style following the theme of inspiration
2. Mail your deck to Jess
3. Receive a full set of 52 unique cards from 51 other artists!
Cool, right?
I'm going to show you my process.
 |
| First I chose a backing paper and glued all of my cards to it. |
 |
| This is the adhesive that I used. |
I laid the paper face-down on my surface, sprayed the whole back with a fairly good layer of my adhesive, and placed my cards out in a grid. This layout made it easier to cut out later (thinking ahead!)
 |
| Here you can see the pretty paper that I chose for the backs of the cards. |

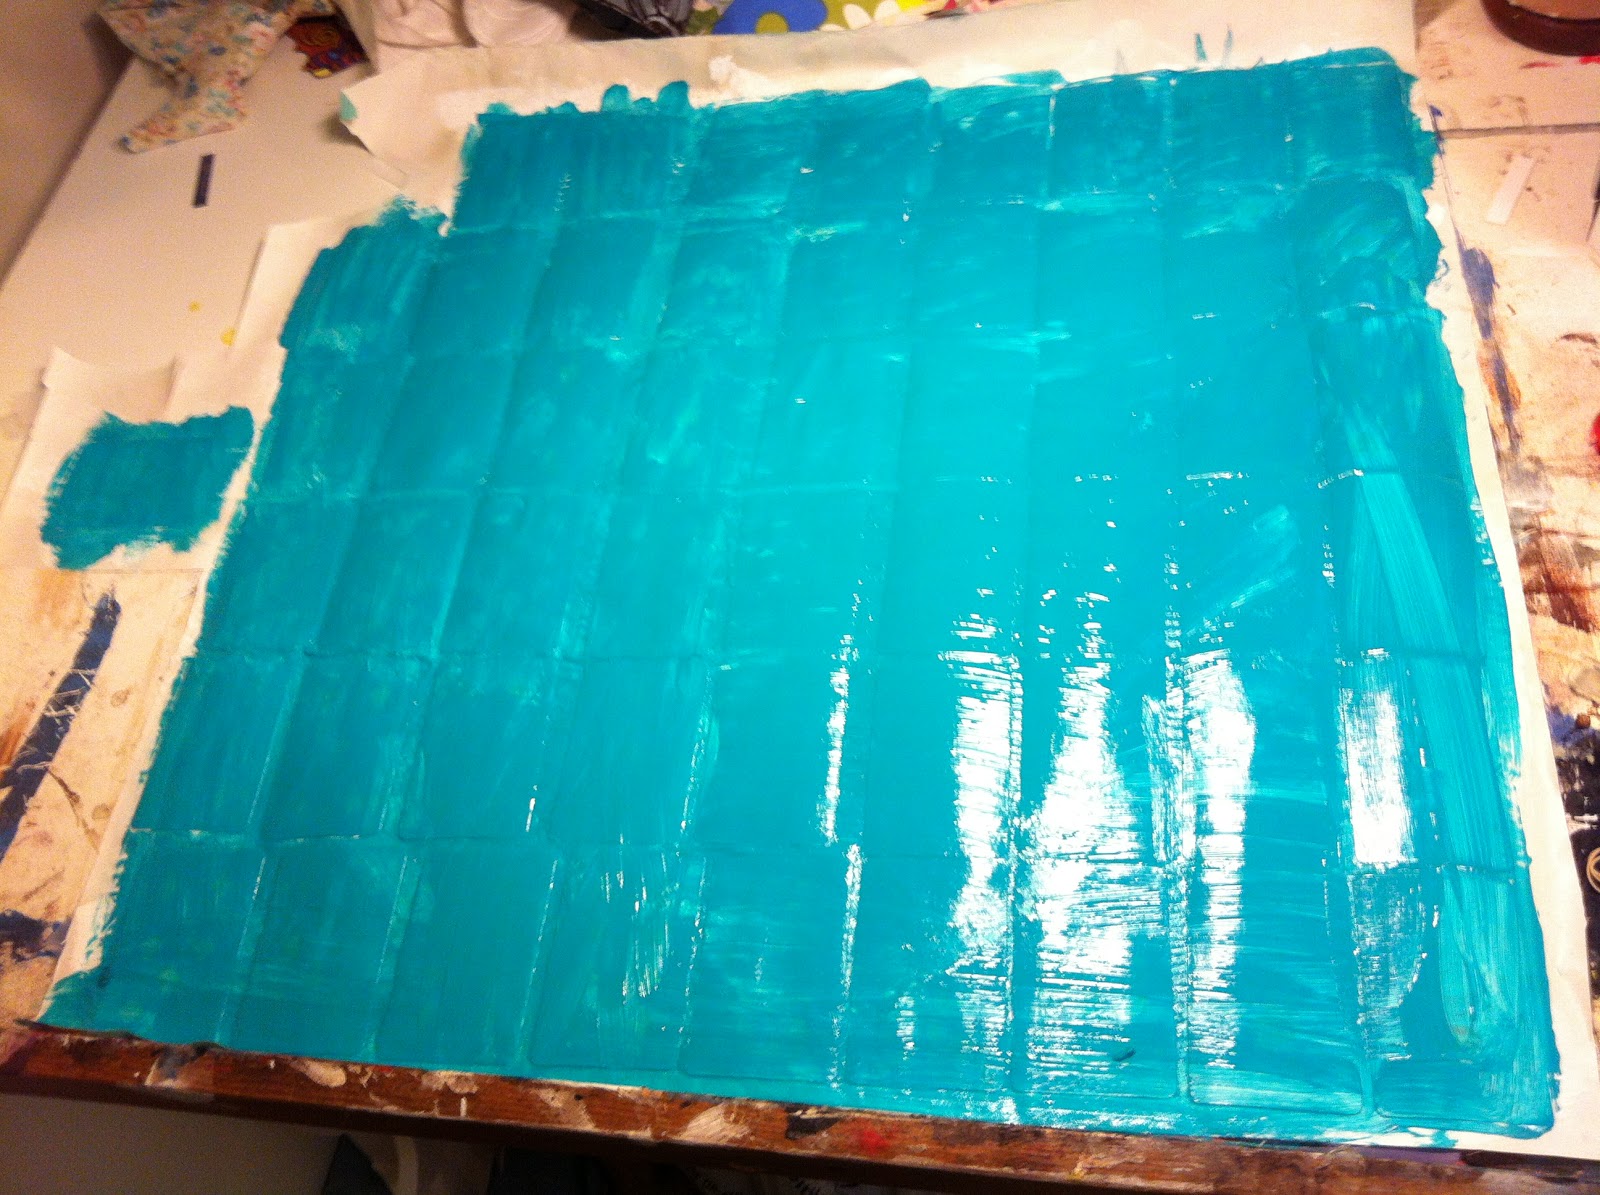 |
| Once the glue had dried, I covered the faces of the cards with a turquoise acrylic paint. Again, MUCH easier to do this when they're all in one large sheet. |
 |
| Once the turquoise had dried, I got out my turquoise metallic Lumiere and sponged on some texture. Isn't it lovely? |
 |
| After all of my paint was dry, I decided that my backgrounds were complete, so I cut out the cards. |
 |
| So pretty! |
 |
| I love copper and turquoise together, so I edged my cards individually in metallic copper acrylic paint. I did this with my fingers, dipping my finger into the paint and then rubbing it along the edges of the cards. |
 |
| Then I added my collage elements. Since the swap is based in the US, I wanted to show my Canadian pride by adding Canadian postage stamps to each card. Then I added the "Inspiration" part of the card (remember, that is the theme of this swap!) I found 52 inspirational quotes relating to creativity (this last part is my own spin). |


 |
| On the backs of the cards, I spritzed a light spray of Adirondack Ink in Espresso and added a sticker with my name and blog address so that recipients can find me if they want. |
 |
| Unfortunately, I spelled my blog address wrong - Realties instead of Realities. I'll have to see if I can peel them all off and re-print them. (yeeesh!) |
You should check out her swap! The decks have to be to her by November 15th, so you have two weeks!
They are absolutely beautiful ..... GREAT job, you talented woman
ReplyDeleteHi, Shannon! Thanks for sharing your steps; it makes sense to glue all the cards at once for the background. And what a beautiful, lovely pattern you chose for that. I made mine from cereal boxes and glued tissue paper on the back - a few at a time. I see that maybe I could have glued them all at once, like you did.
ReplyDeleteWhat a bummer about the misspelling on the labels. Maybe you'll have to print new ones again and glue them on top of the first ones?
Ooopps, meant to say "back of the cards", instead of "background", sorry.
DeleteGreat idea!
ReplyDeletewhat an inspiration- I came to your blog from jessica's page as I am thinking of joining her new musical cards project
ReplyDelete